Stripes and a Scarf

Oh my goodness! I’m so excited that we are starting to get glimpses of spring here.  I crave the warm weather, and I’m usually over winter after only a couple of weeks.  With the weather transitioning, I always find it hard to plan my outfits.  In the morning it still feels like you need a winter coat and by the afternoon you are ready to bust out the flip flops and shorts! The best thing I’ve found to stay comfortable all day is an amazing scarf.  So nice when you are a little chilly, but not uncomfortable as it warms up.  This one from Piper Street is perfection.  So cozy and versatile.  I love it!  It also pairs so well with this striped top.  This top is the softest.  I love how it has a little stretch, but keeps its shape! Sometimes I’m afraid to mix patterns, but it’s fun to coordinate when you put these colors together!

Striped shirt, color splash scarf, jeans, and ankle booties! Women's Fall Fashion!

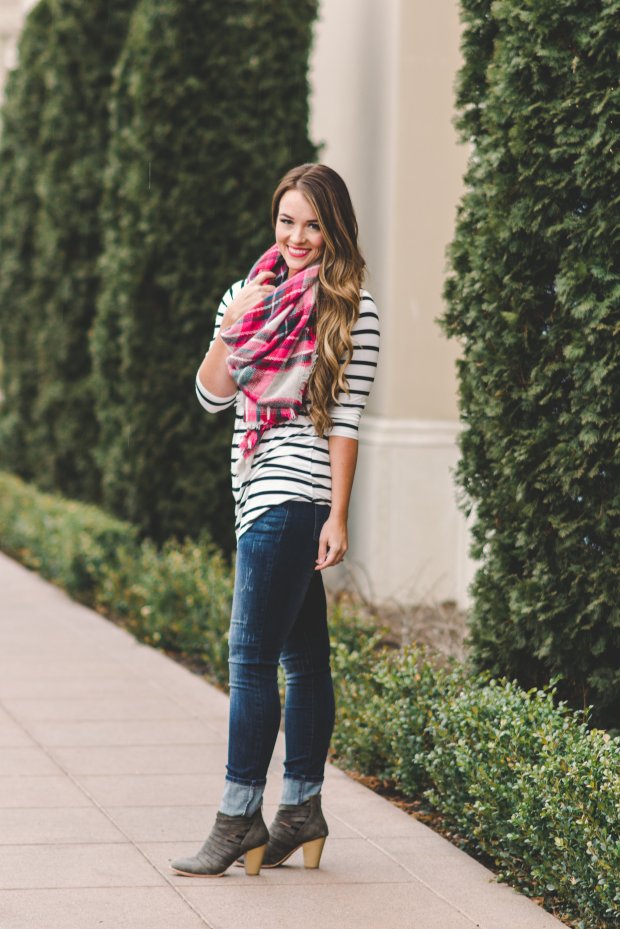
These jeans and booties are also from Piper Street and I wear them on repeat!  For real, like every day.  I love them both.  Comfortable enough to run errands in, and cute enough for a night out!

Have an amazing Valentine’s weekend! XO

View More: http://staycsmartphotography.pass.us/savanahbigboldbeautifullife

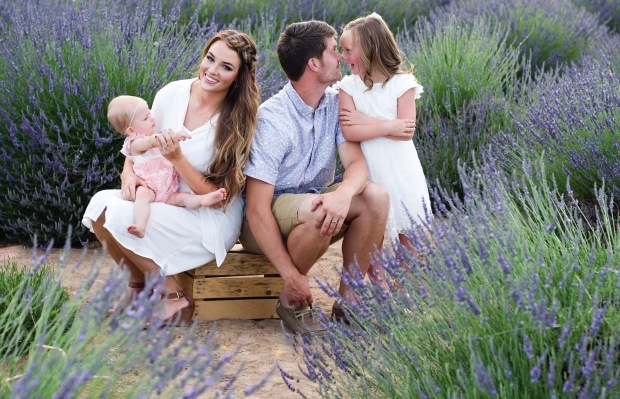
Thank you to Stayc Smart Photography find her on instagram @staycsmartphotography

Thank you to Piper Street for sponsoring this post!

View More: http://staycsmartphotography.pass.us/savanahbigboldbeautifullife

Fishtailing with Penny+Boss

If you know me, you know I love a good braid!  They are always a good idea in any season.  A fishtail is such a classic and a favorite of mine for sure.  Another favorite of mine is Suzy from Penny+Boss! If you haven’t read their blog, you better get over there quick.  You are missing out, they are the cutest.  So! Back to the fishtail…I decided to do this braid on Suzy and I’m going to walk you through it!  You can fishtail by moving the hair over top of the braid, but for this one I chose to move the hair underneath.  It creates a lifted braid (so the braid rests on top of the hair) if that makes sense!

How to Fishtail braid!

Part your hair off to one side, and begin your braid close to your part.  Take a small section and split it into two-A and B.  Take half of A and move it underneath and add it to B.  Then take half of B and move it underneath and add it to A.  Again, take half of A and move it underneath to B.  Now take a small piece of hair(not already in the braid) from that same side and also move that underneath to B.  Then, move half of B under to A.  Grab extra hair(not in the braid) and also move that under to A.  Repeat this a hundred times 🙂 Make sure you are always moving a piece from A to B or vice versa BEFORE you add in hair from the rest of your head.  If you don’t, your braid will be all kinds of crazy.  Keep the braid as tight as you can while braiding.  Braid as far as you like then tie it off.  Gently pull on the sides of the braid to loosen it and make it larger.  Hairspray, and you are done!  I love to wear this with all my hair in the braid, like Suzy is here, but I also love to stop it around my ear and pin it back, leaving the rest of my hair down.


Fishtail Braid directions and tutorial!Fishtail Braid Tutorial and Instructions

I’m thinking I’ll make a video for this look soon and let you know when it’s up! Thank you for reading 🙂 XO


Holiday Hair Series:Christmas

1,jennifer-munoz,boise-wedding-photographer,boise-wedding-hair-6

I can’t believe it is already Christmas Eve! It is always crazy to me how fast time flies.  I wonder if I’ll ever get used to it 🙂 Even though it came quickly, I’m just as excited as ever!  Such a magical time and I can’t wait to spend it with family.

The week of Thanksgiving, I posted part 1 of my Holiday Hair Series with my good friend, and incredibly talented photographer, Jennifer Munoz. This is part 2, and I can’t wait to show you.  I love coming up with fun new braids! This one looks complicated, but it is actually super simple. I would definitely wear it to a holiday party, or dress it down with a hoodie and a cup of cocoa.  It goes with everything!

To begin, section the top half of your hair off and clip it up.jennifer-munoz,boise-wedding-photographer,blooms-flower-studio,wedding-hair-tutorial-78

Next, separate the bottom half into two parts and fishtail each.  After you tie them off, slightly pull on the braids to loosen them.  To fishtail, you split the hair into two, take a small piece from one side and add it to the other.  Then, switch and take a small piece from the side you just added to, and move it to the first side.  Repeat until you near the end of your hair.

Pull the fishtails forward so they are out of your way.  Let down the top half.  I chose to French braid the top, but if it is feeling awkward to French braid behind you, you can just braid the whole piece at once.  To braid, split the top into three pieces and alternate moving the outside strands over the middle strand.  After you move the outside strand to the middle, it becomes the middle strand for the other side to cross over. If you move the strands under instead, your braid will be more raised(Dutch braid)jennifer-munoz,boise-wedding-photographer,blooms-flower-studio,wedding-hair-tutorial-104
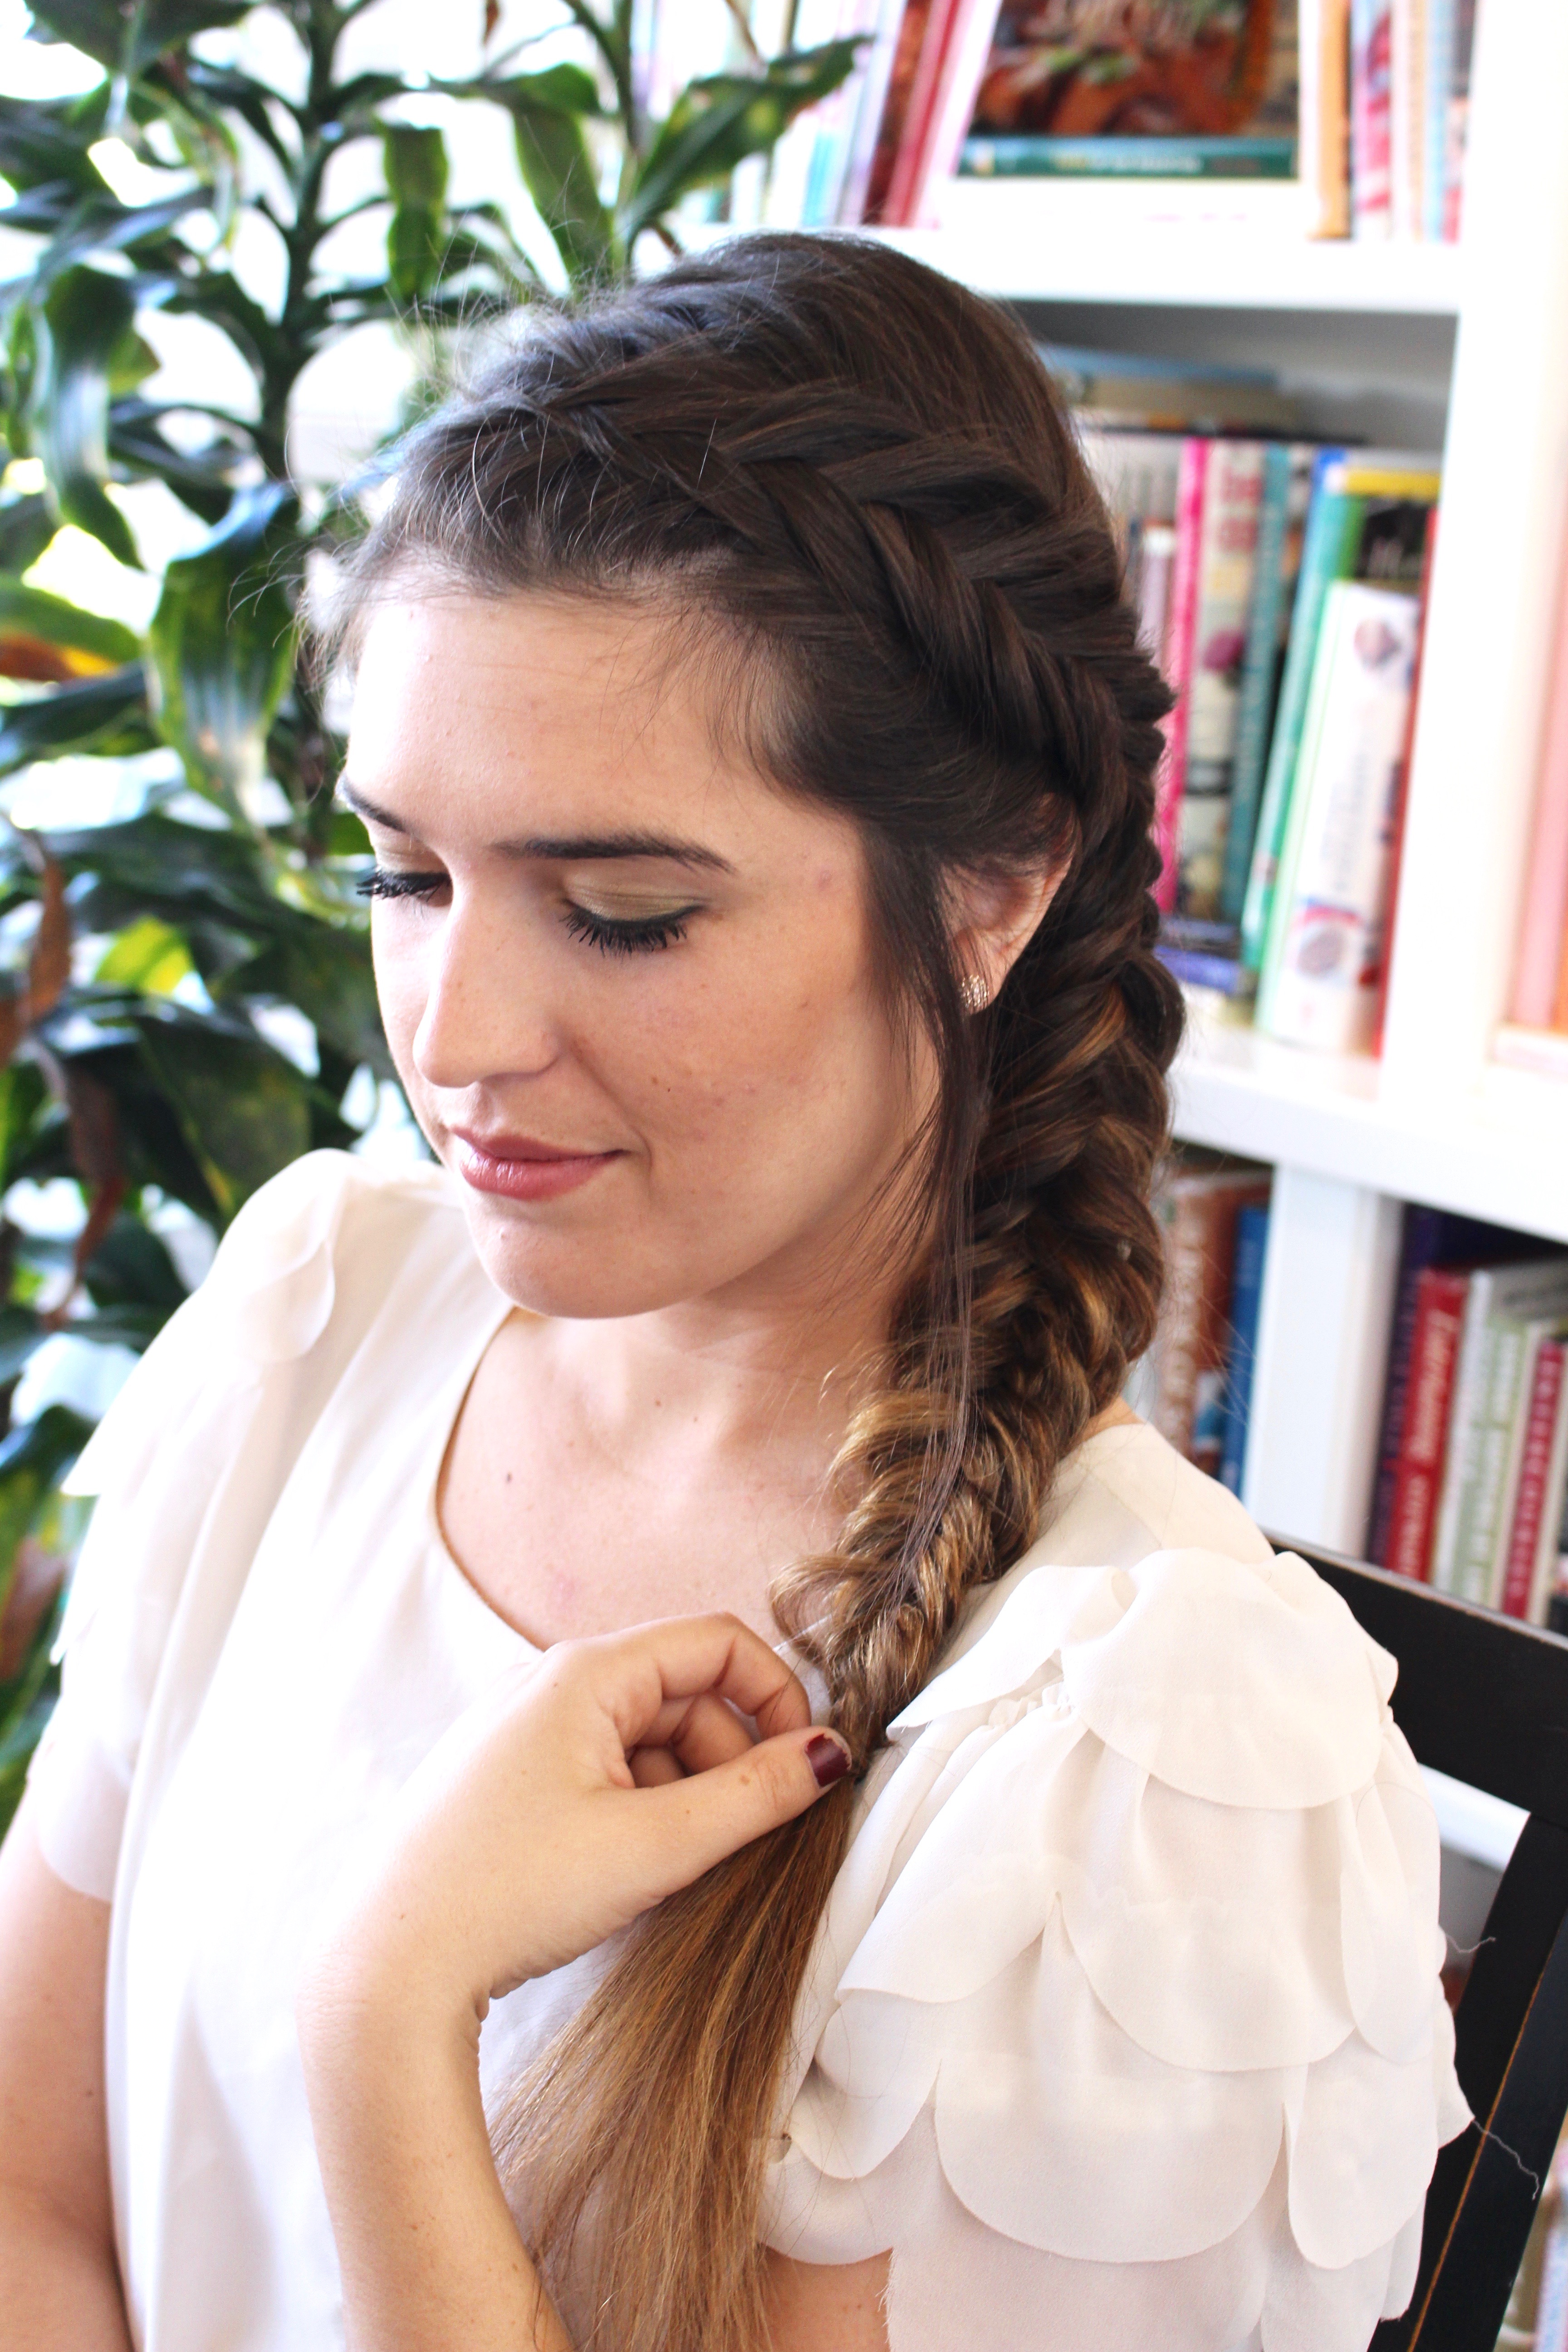
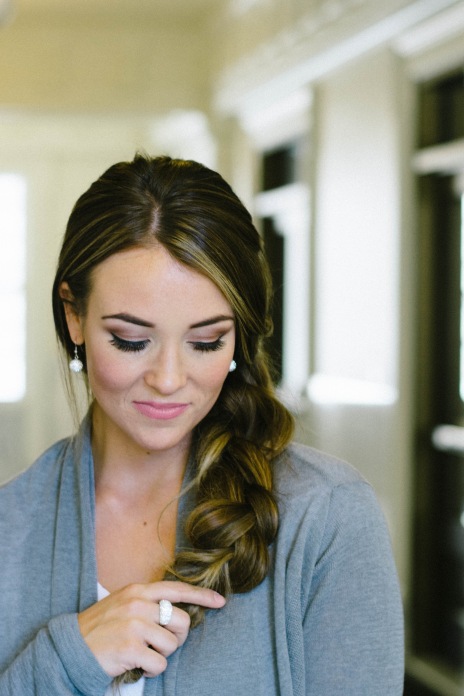
When you have all your hair tied off, braid the three braids together.  Move the outer strand over the middle strand, and alternate. Remove the three elastics, and attach all the ends together with one elastic.  I like to wrap a small piece of hair around it to cover it. jennifer-munoz,boise-wedding-photographer,blooms-flower-studio,wedding-hair-tutorial-114Gently pull and loosen the braid to give it some volume and help the braids work together.

Then you are set! Get creative with it.  It can be as tight and clean or as messy as you want!


Huge thank you to Jennifer Munoz for the photography. I adore her! Check her out HERE and here:

Instagram- @jennifer.munoz
Website- http://www.jennifermunoz.co
Phone for Wedding or Lifestyle Photography- (208)557-1566
Facebook- http://www.facebook.com/jennifermunozphotography

Thank you also to  Blooms Flower Studio for letting us shoot in your gorgeous space!

Stay tuned for part 3 coming next week.  Have a wonderful Christmas!

Holiday Shopping with Penny+Boss

_W6A2511Confession time…I’m super old.  Well, not in real life, just compared to my husband.  We grew up together and even attended the same high school, just not at the same time…Yeah, he was in 8th grade when I graduated  haha! Anyway, he has lots of really great friends that I didn’t know growing up (and some that I did know, considering I babysat them) that now I get to be friends with too! I hear all kinds of stories about them, and pretend I was there too.  So, he has this friend from high school named Suzy.  She’s like insane talented, creative, beautiful, etc so obviously I decided to piggy back on their friendship. Thankfully, she and her friend Sydney started a blog named Penny and Boss.  I love it, and I’m sure you will too! Maybe we will get lucky and some of their coolness will rub off on us 🙂

Suzy was in town and we decided to do a little holiday shopping together, and I’ll share some of the darling things we found with you!  Our friend Chantel is an amazing photographer, and we were lucky enough to have her with us! Check out her beautiful photos on instagram @chantelcheriephoto she really is so talented! Contact her at chantelmoorhouse@gmail if you want some awesome photos done

_W6A2675

First, my favorite holiday gift idea for you are these earrings and bracelet! The earrings are so neat, they are 3D and catch the light so beautifully.  Both the earrings and the bracelet are from Roma Designer Jewelry and made from sterling silver.  They are overlaid with rhodium (a precious metal closely related to platinum) to resist scratches, abrasion, and corrosion. They would be a perfect gift for any/all your favorite people…or maybe just for yourself!  Use the code “FRIENDLY25” to get 25% off your purchase through the Roma Designer Jewelry site.  I’m in love! _W6A2581_W6A2803

Suzy, Chantel, and I had way too much fun shopping at Anthropologie and Paperie and Pen.  I could buy everything in those stores (and as a result, have the most darling house in the world) but I had my sweet husband there to pull in the reigns.  He is so patient haha _W6A2714_W6A2722
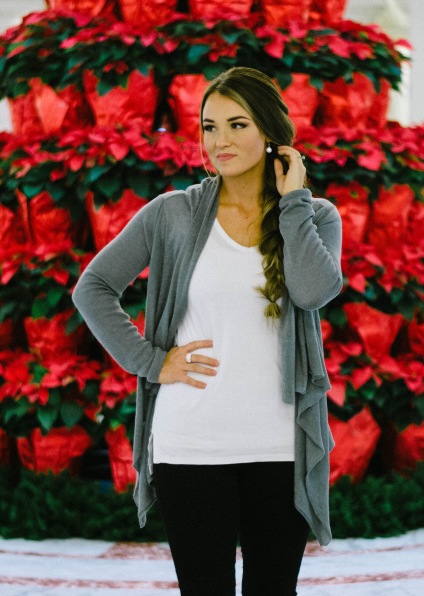
I absolutely loved this cute mistletoe…and of course, this handsome man!

My top picks from Anthropologie are here, here, here, here…aaaand here! Are you kidding me with those aprons?! Also, love this shot of the bracelet from earlier!

Paperie and Pen had some of the most darling gifts, like this.  Of course, they also had the cutest paper (we may have gotten in trouble for this one…oops)

_W6A2571

_W6A2667Long story short, we had way too much fun…but then again, there’s no such thing! Happy shopping 🙂

Effortless No Heat Curls

Its no secret, heat is damaging to your hair.  I am constantly trying to find ways to reduce the amount of heat my hair is exposed to.  From air drying, to braids, to my arsenal of products used to reduce/prevent damage, it is no small feat to maintain the integrity of my hair.  Especially when it is long, and colored!

You can image my excitement when I discovered Savvy Curls!  A headband that curls your hair…without heat…while you sleep? AMAZING, sign me up!

“These headbands are exclusively made with thermal insulating materials & curl forming materials to work with your head’s natural heat zone & produce beautiful, bouncy curls.

There are two options, a single band, and a convertible band.  Not to mention, lots of fun patterns!  I used the convertible band, and I loved that I could snap off the top and use it as a single band as well.  Before you wrap, it’s important to have your hair slightly damp, and brush a mousse through it to help the curls set and stay for the whole day. Wrap right after applying the mousse, before it dries. This is my hair before, it looks so sad I know, but it is just air dried.  I allow my hair to air dry as much as possible!

IMG_8293

To use the convertible band, section off the top of your hair, and clip it out of the way. Move the top band in front of that section.  Begin wrapping the bottom half of your hair from your face back.  Do one side, then the other, meeting in the middle near the nape of your neck.  Wrap the ends in together, and secure with a bobby pin or two.

IMG_8320IMG_8323

Next, let down the top section and wrap in the same pattern as the bottom. I chose to sleep in the band.

IMG_8330IMG_8332

When you wake up, unwrap the band, shake it up a bit, and you are ready to go!  My husband is so grateful.  Thanks to Savvy Curls, I can now make it to church on time haha.  After sleeping in the band, I woke up to these voluminous curls!!!

IMG_8230

To use the single band, you will wrap all your hair around at the same time, instead of sectioning it into two.

It is also an option to just leave the band in for a couple hours.  That is what I did here, with the single band, and the results were a looser curl. Still very pretty!

IMG_8348  I pulled them back into a simple pony, and loved the result! Thank you for reading 🙂 Savvy Curls has offered a discount code for $2 off a band of your own! Just use the code “savvyc1” Hope you all have a wonderful week!

IMG_8304


Holiday Sparkle

The Holidays are so much fun! I feel like there are wonderful, kind things happening all around that warm my heart.  It has been magical to experience all the joy with my sweet little girls!  They make everything better.

Another thing I think is fun about the Holidays, is that you can dress up a little more.  Also, you get to drop hints to your significant other for awesome things like these earrings and ring from Roma Designer Jewelry! Sneaky, sneaky!  Seriously though, I’m in love with these.  I sold engagement rings during my college years, and I fell in love with this style of ring.  I have wanted one ever since, and this one is amazing! I just stare at it every time I wear it.  The way that it, and the earrings, catch the light is beautiful! They are made with Preciosa crystals, which have their own unique faceting making them some of the brightest crystals produced.

SP12-1-27


Roma Designer Jewelry is so generous to offer a discount code for my friends so you can shop with them and receive 25% off!  Use the code “friendly25” on their site, click HERE to shop!

Hope you are enjoying your week, and all the delicious hot cocoa options out there this month!


Huge thank you to Stayc Smart Photography for these photos! She has been my friend for almost my entire life, and I love her.  Check her out on Instagram @staycsmartphotograhy!

SP12-1-45SP12-1-37SP12-49-1SP12-53-1


Thank you to Roma Designer Jewelry for sponsoring this post!

Holiday Hair Series: Thanksgiving

holiday-hair-tutorial,jennifer-munoz,boise-wedding-photographer,boise-wedding-hair-4

I am so excited to be working with my incredibly talented photographer friend Jennifer Munoz to bring you a three part holiday hair series!  We took these photos in Blooms Flower Studio, and I don’t think we could have found a more lovely spot.  Working with Jennifer is a dream.  She has such an elegant style, and I love her work!

There will be a step by step guide for each look in our series, making it simple to recreate these styles for any holiday event.  The first up is a Thanksgiving inspired style.  It is simple, works on any hair type or length, and can be casual or dressy!

To begin, take a small section of hair from the right side.

jennifer-munoz,boise-wedding-photographer,boise-wedding-hair-5

Softly twist it as you pull it across the back of your head to the other side.

Using a bobby pin, secure the first twist in place.

jennifer-munoz,boise-wedding-photographer,boise-wedding-hair-7

Now, take a small section from the opposite side and twist it across.  Pull it over to cover the bobby pin from the first twist.

jennifer-munoz,boise-wedding-photographer,boise-wedding-hair-11

Secure with a bobby pin on the opposite side.

jennifer-munoz,boise-wedding-photographer,boise-wedding-hair-15

Take a third piece of hair from the original side, and twist again.  Remember to use the strand to cover the previous bobby pin.

Bobby pin on the opposite side.

jennifer-munoz,boise-wedding-photographer,boise-wedding-hair-16

I stopped at this point, but feel free to continue the pattern as far as you would like!


Let me know if you try this out! I would love to hear what you think! Stay tuned for part 2 of the holiday series!

Happy Thanksgiving!

Thank you to Jennifer Munoz for the phography. Check her out HERE and here:

Instagram- @jennifer.munoz
Website- http://www.jennifermunoz.co
Phone for Wedding or Lifestyle Photography- (208)557-1566
Facebook- http://www.facecbook.com/jennifermunozphotography


Perfect Plaid


I love wearing dresses! However, most of the time I can’t wait to get back into my sweats as soon as possible.  Finding a dress and shoe combo that I want to wear all day long is gold! This plaid shirt dress and boots from Piper Street Shop are just that.  I’m totally loving the details on these boots.  Also, I can comfortably wear them running errands, helping in my daughter’s classroom, carrying my babe all over, you name it! Pretty sweet.

DSC_5313

You will be seeing much more from Piper Street on here in the future, which is fun for all! If you haven’t already shamelessly stalked their cute stuff, you should get on that.  You won’t be sorry.  They come out with new releases all the time too, so get ready for Christmas all year long!

Sorry I have been a little MIA! So many fun things going on, I’m figuring out how to do it all and not have my children starve or my house be condemned haha.  If you have any tips or great books on how to balance life, I’d love to know them! It’s really a bummer that I have to learn everything in life from experience.  If I could just glean all the amazing knowledge from others, I would save myself a lot of time haha! Maybe I’ll learn how to do that some day ha but until then…another white board to-do list it is! 🙂

Photos by Cole Maxfield Photography


Family Pictures, Lavender, and Heat

Oh my! My poor family.  I love getting family pictures done, so I do it often. My husband is very patient with me and is usually a good sport about it (for the first half at least) Myla lives to pose for a camera, so we are golden there, and Vivian is just sweet and whatever happens, happens.  No way she was going to give me a big smile, though.  Not happening.  My good friend Johanna takes our pictures, and has for years, so we always come up with some cool place we want to try next. She came up with the idea of this beautiful lavender field.  I loved it so we planned it all out.  Well, turns out there is a small window of time that the lavender is in bloom, so we had to take our pics in July.  It was so hot.  Like SO hot.  109 degrees.  We had to take a break in the middle of pictures to go sit in the air conditioned car.  Haha my poor family, WE WILL TAKE PICTURES! They are sweet, less sweet in 109 degrees and dripping from sweat, but still sweet and I love them.

Photos by Johanna Hallenberger

3549

33813463330633273364349735783562