Effortless No Heat Curls

Its no secret, heat is damaging to your hair.  I am constantly trying to find ways to reduce the amount of heat my hair is exposed to.  From air drying, to braids, to my arsenal of products used to reduce/prevent damage, it is no small feat to maintain the integrity of my hair.  Especially when it is long, and colored!

You can image my excitement when I discovered Savvy Curls!  A headband that curls your hair…without heat…while you sleep? AMAZING, sign me up!

“These headbands are exclusively made with thermal insulating materials & curl forming materials to work with your head’s natural heat zone & produce beautiful, bouncy curls.

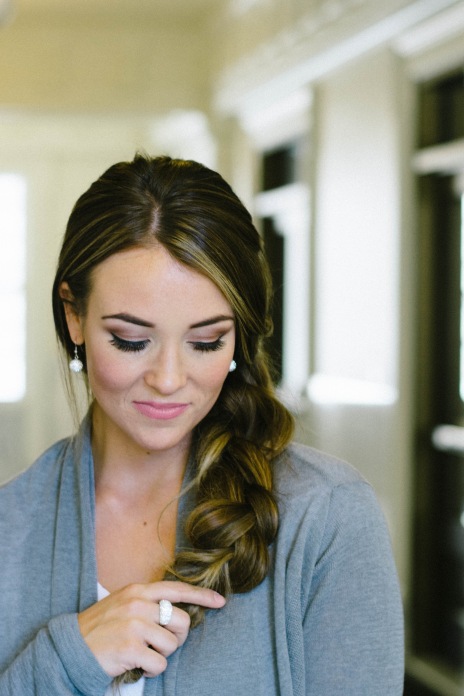
There are two options, a single band, and a convertible band.  Not to mention, lots of fun patterns!  I used the convertible band, and I loved that I could snap off the top and use it as a single band as well.  Before you wrap, it’s important to have your hair slightly damp, and brush a mousse through it to help the curls set and stay for the whole day. Wrap right after applying the mousse, before it dries. This is my hair before, it looks so sad I know, but it is just air dried.  I allow my hair to air dry as much as possible!

IMG_8293

To use the convertible band, section off the top of your hair, and clip it out of the way. Move the top band in front of that section.  Begin wrapping the bottom half of your hair from your face back.  Do one side, then the other, meeting in the middle near the nape of your neck.  Wrap the ends in together, and secure with a bobby pin or two.

IMG_8320IMG_8323

Next, let down the top section and wrap in the same pattern as the bottom. I chose to sleep in the band.

IMG_8330IMG_8332

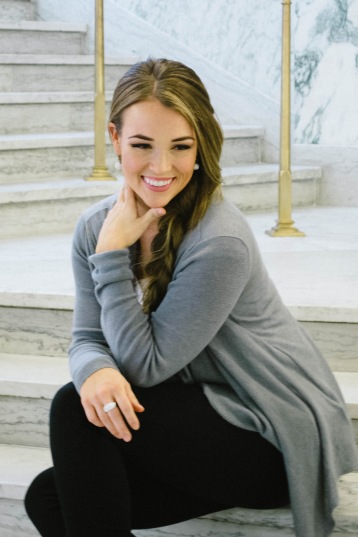
When you wake up, unwrap the band, shake it up a bit, and you are ready to go!  My husband is so grateful.  Thanks to Savvy Curls, I can now make it to church on time haha.  After sleeping in the band, I woke up to these voluminous curls!!!

IMG_8230

To use the single band, you will wrap all your hair around at the same time, instead of sectioning it into two.

It is also an option to just leave the band in for a couple hours.  That is what I did here, with the single band, and the results were a looser curl. Still very pretty!

IMG_8348  
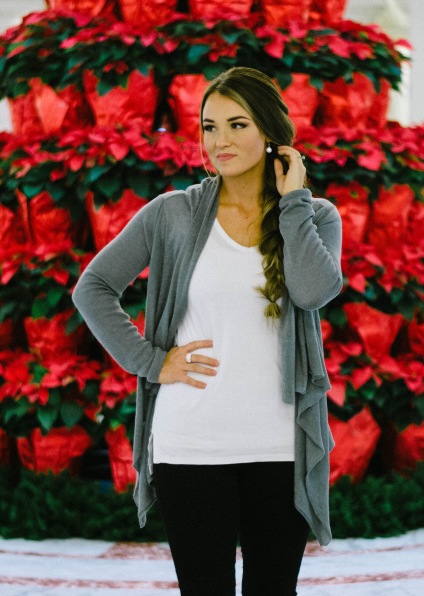
I pulled them back into a simple pony, and loved the result! Thank you for reading 🙂 Savvy Curls has offered a discount code for $2 off a band of your own! Just use the code “savvyc1” Hope you all have a wonderful week!

IMG_8304


Holiday Sparkle

The Holidays are so much fun! I feel like there are wonderful, kind things happening all around that warm my heart.  It has been magical to experience all the joy with my sweet little girls!  They make everything better.

Another thing I think is fun about the Holidays, is that you can dress up a little more.  Also, you get to drop hints to your significant other for awesome things like these earrings and ring from Roma Designer Jewelry! Sneaky, sneaky!  Seriously though, I’m in love with these.  I sold engagement rings during my college years, and I fell in love with this style of ring.  I have wanted one ever since, and this one is amazing! I just stare at it every time I wear it.  The way that it, and the earrings, catch the light is beautiful! They are made with Preciosa crystals, which have their own unique faceting making them some of the brightest crystals produced.

SP12-1-27


Roma Designer Jewelry is so generous to offer a discount code for my friends so you can shop with them and receive 25% off!  Use the code “friendly25” on their site, click HERE to shop!

Hope you are enjoying your week, and all the delicious hot cocoa options out there this month!


Huge thank you to Stayc Smart Photography for these photos! She has been my friend for almost my entire life, and I love her.  Check her out on Instagram @staycsmartphotograhy!

SP12-1-45SP12-1-37SP12-49-1SP12-53-1


Thank you to Roma Designer Jewelry for sponsoring this post!

Holiday Hair Series: Thanksgiving

holiday-hair-tutorial,jennifer-munoz,boise-wedding-photographer,boise-wedding-hair-4

I am so excited to be working with my incredibly talented photographer friend Jennifer Munoz to bring you a three part holiday hair series!  We took these photos in Blooms Flower Studio, and I don’t think we could have found a more lovely spot.  Working with Jennifer is a dream.  She has such an elegant style, and I love her work!

There will be a step by step guide for each look in our series, making it simple to recreate these styles for any holiday event.  The first up is a Thanksgiving inspired style.  It is simple, works on any hair type or length, and can be casual or dressy!

To begin, take a small section of hair from the right side.

jennifer-munoz,boise-wedding-photographer,boise-wedding-hair-5

Softly twist it as you pull it across the back of your head to the other side.

Using a bobby pin, secure the first twist in place.

jennifer-munoz,boise-wedding-photographer,boise-wedding-hair-7

Now, take a small section from the opposite side and twist it across.  Pull it over to cover the bobby pin from the first twist.

jennifer-munoz,boise-wedding-photographer,boise-wedding-hair-11

Secure with a bobby pin on the opposite side.

jennifer-munoz,boise-wedding-photographer,boise-wedding-hair-15

Take a third piece of hair from the original side, and twist again.  Remember to use the strand to cover the previous bobby pin.

Bobby pin on the opposite side.

jennifer-munoz,boise-wedding-photographer,boise-wedding-hair-16

I stopped at this point, but feel free to continue the pattern as far as you would like!


Let me know if you try this out! I would love to hear what you think! Stay tuned for part 2 of the holiday series!

Happy Thanksgiving!

Thank you to Jennifer Munoz for the phography. Check her out HERE and here:

Instagram- @jennifer.munoz
Website- http://www.jennifermunoz.co
Phone for Wedding or Lifestyle Photography- (208)557-1566
Facebook- http://www.facecbook.com/jennifermunozphotography


Perfect Plaid


I love wearing dresses! However, most of the time I can’t wait to get back into my sweats as soon as possible.  Finding a dress and shoe combo that I want to wear all day long is gold! This plaid shirt dress and boots from Piper Street Shop are just that.  I’m totally loving the details on these boots.  Also, I can comfortably wear them running errands, helping in my daughter’s classroom, carrying my babe all over, you name it! Pretty sweet.

DSC_5313

You will be seeing much more from Piper Street on here in the future, which is fun for all! If you haven’t already shamelessly stalked their cute stuff, you should get on that.  You won’t be sorry.  They come out with new releases all the time too, so get ready for Christmas all year long!

Sorry I have been a little MIA! So many fun things going on, I’m figuring out how to do it all and not have my children starve or my house be condemned haha.  If you have any tips or great books on how to balance life, I’d love to know them! It’s really a bummer that I have to learn everything in life from experience.  If I could just glean all the amazing knowledge from others, I would save myself a lot of time haha! Maybe I’ll learn how to do that some day ha but until then…another white board to-do list it is! 🙂

Photos by Cole Maxfield Photography


Loose Waves Tutorial

OK! This video has been a long time coming.  Even before I wanted to blog, I thought about making it! I used to spend hours teaching all my clients and friends how to curl with a flat iron.  This is by far my favorite way to curl for a number of reasons.  First, my curls just last way longer.  Ever since I became best friends with dry shampoo, I have been able to only wash my hair a couple times a week (the thought of it used to gross me out, but now I’m proud haha) think of all the time and damage I save my poor hair! Get this, I never redo my curls!  With a flat iron they last me four days easy.  When I curl my hair with a curling iron, I’m lucky to get two days.  Disclaimer: I do sleep with my hair above my head, draped over my pillow if that makes sense.  So, it doesn’t get smashed while I sleep, which probably helps!

Second, I can curl faster!  I’m just going to be honest and tell you it will take a LOT of practice and probably be pretty frustrating to learn.  It will click one day, though, and all of the sudden you will be a curling machine! I can usually do my whole head in less than ten minutes.  That’s a win for me! Takes me 30-45 with a curling iron.

Third, I only have to bring one thing on trips with me! Ha ok, that’s mostly me being lazy. It is nice, though!

Fourth, it is customizable.  If you want tighter curls, twist the iron more.  If you want them looser, twist less.  You can curl toward your face, away from your face, in your face, on top of your face….you get the idea 🙂  I used my iron for clients that just wanted loose waves, as well as my brides that wanted tight curls to last all day!

Fifth, I just like it.

I also really like the two products I use in the video! I honestly don’t think I could live without Smooth and Seal.  I’m not even sure how it is so great, but it is!  It’s basically a light spray that transforms your hair from dull to shiny, soft, and beautiful. It doesn’t have any hold to it, so it won’t help your curls stay in, but it will help your hair stay frizz free.  It also won’t protect your hair against heat damage (I have some other magical products that will, though, so I’ll get to work on a post about that)  Its awesome, I use it everyday no matter what I’m doing!   The second product is my favorite hairspray.  Its by Pravana and I love it because it doesn’t build up on my hair, but has great hold!

So! If you want to watch the tutorial, you can find it HERE

Let me know if you have any questions or if there is something you would like to see from me in the future!

Have a wonderful weekend!

IMG_1184

Jump Creek and a Half Up Fishtail Halo

A few weeks ago our good friends took us to this neat spot, Jump Creek.  It has a beautiful waterfall nestled into some equally beautiful trees. It was a fun little hike, and Viv loved playing in the water!

I love these outdoor adventures with my little family!

I filmed a tutorial for this half up fishtail halo hairstyle I’m wearing.  To watch it, click here!

Photos by BreAna Thomas Photography

Have a wonderful weekend!

-Savanah

DSC_0682 DSC_0591 DSC_0689 DSC_0724 DSC_0600

Loose Waves

Loose waves are my go-to hairstyle because they make a great base for other styles, and they are so easy to wear.  Even in bad weather or if it is windy outside! Just looks like you meant for them to be all crazy.  With the right techniques, also, my curls will last for days!  I am still on the hunt for a thermal curling spray that isn’t crunchy or sticky, yet actually holds curls, but I have yet to find one I like.  I’ll keep you posted if I do! For now, I use Smooth and Seal by Sexy Hair to prep my hair before curling.  That product has my heart.  I’m obsessed.  Next, I start from the bottom of my hair and section off about a third of it.  Clip the top hair out of the way so you have clean sections. Once you have curled the bottom section, let down another one and clip the rest out of the way.  The cleaner you can make your sections, the better.  Then you won’t miss any hair and have straight pieces all over.  More than any product or technique I have used, curling my hair with a flat iron is hands down my favorite method.  It gives me control over how curly or loose I want it, as well as holding my curl longest.  Just a warning, if you haven’t curled with a flat iron before, it’s going to take practice! Keep trying, you will get better and faster.  I can now curl my hair in 1/3 of the time it used to take me with a curling iron. I’m working on a video for flat iron curls so you can see how I do mine. I’m still learning about video editing and all that jazz, so it takes me a while to make one, but I’ll get it up as soon as I can.  In the meantime, play around with it, and check out these products if you want! Once I have my hair curled how I want, I hairspray and use Flip it Over spray wax to create separation.  Don’t use very much! It will ruin everything.  Just a little here and there at the very end.  Good luck!

Also, I love the details on this top from The Rambler Boutique, check them out!

IMG_3266

IMG_3288IMG_3335IMG_3328IMG_3339IMG_3256IMG_3302

IMG_3275

Day 4 Eliminate and Enhance: Pull Through Braid

Day 4! Today I’m going to show you a simple pull through braid that is great for any occasion.  I love it for working out because it stays tight, unlike other braids.  Let me know if you have any questions!

1. Make two ponytails.

IMG_4656

2. Split the first ponytail in half.

IMG_4657

3. Pull the second pony through the split and clip it out of the way.

IMG_4658 IMG_4660

4. Make a third ponytail and include the hair from the first ponytail.

IMG_4663

5. Unclip the second pony.  It now becomes the first.  Split it in half, and repeat the steps again as many times as you want.

IMG_4667 IMG_4668 IMG_4669 IMG_4672 IMG_4674 IMG_4676 IMG_4677 IMG_4679 IMG_4681 IMG_4685

6. Once you have braided as far as you like, begin to loosen the sections.

IMG_4692 IMG_4696

IMG_4703

Pull and adjust until you see fit!

The end. Have a wonderful day!