Loose Waves Tutorial

OK! This video has been a long time coming.  Even before I wanted to blog, I thought about making it! I used to spend hours teaching all my clients and friends how to curl with a flat iron.  This is by far my favorite way to curl for a number of reasons.  First, my curls just last way longer.  Ever since I became best friends with dry shampoo, I have been able to only wash my hair a couple times a week (the thought of it used to gross me out, but now I’m proud haha) think of all the time and damage I save my poor hair! Get this, I never redo my curls!  With a flat iron they last me four days easy.  When I curl my hair with a curling iron, I’m lucky to get two days.  Disclaimer: I do sleep with my hair above my head, draped over my pillow if that makes sense.  So, it doesn’t get smashed while I sleep, which probably helps!

Second, I can curl faster!  I’m just going to be honest and tell you it will take a LOT of practice and probably be pretty frustrating to learn.  It will click one day, though, and all of the sudden you will be a curling machine! I can usually do my whole head in less than ten minutes.  That’s a win for me! Takes me 30-45 with a curling iron.

Third, I only have to bring one thing on trips with me! Ha ok, that’s mostly me being lazy. It is nice, though!

Fourth, it is customizable.  If you want tighter curls, twist the iron more.  If you want them looser, twist less.  You can curl toward your face, away from your face, in your face, on top of your face….you get the idea 🙂  I used my iron for clients that just wanted loose waves, as well as my brides that wanted tight curls to last all day!

Fifth, I just like it.

I also really like the two products I use in the video! I honestly don’t think I could live without Smooth and Seal.  I’m not even sure how it is so great, but it is!  It’s basically a light spray that transforms your hair from dull to shiny, soft, and beautiful. It doesn’t have any hold to it, so it won’t help your curls stay in, but it will help your hair stay frizz free.  It also won’t protect your hair against heat damage (I have some other magical products that will, though, so I’ll get to work on a post about that)  Its awesome, I use it everyday no matter what I’m doing!   The second product is my favorite hairspray.  Its by Pravana and I love it because it doesn’t build up on my hair, but has great hold!

So! If you want to watch the tutorial, you can find it HERE

Let me know if you have any questions or if there is something you would like to see from me in the future!

Have a wonderful weekend!

IMG_1184

Saturday Market

DSC_0492

We had such a fun weekend with our friends Morgan and BreAna! We stayed up way too late, and crammed way too much in, but it was totally worth it.  On Saturday morning we went to the downtown market.  I love all the beautiful local produce and flowers, unique vendors, and delicious treats!  Whenever I know there will be lots of people, maneuvering, crossing the street, etc. I always make sure I have my Happy Wrap for Viv.  I seriously think I have worn this wrap for hundreds of hours over the last ten months.  Viv still fits great in it, and it’s so comfortable.  Also, nothing better than having a sweet baby near you!  As she has gotten older, however, she doesn’t sleep as much in the wrap and needs something to keep her busy.  That’s why I’m also grateful I have our LouLou Lollipop teething necklaces!  As long as she has them to chew on, she is a happy little camper.  Plus, they have gone through testing and regulations in US and Canada to ensure they are legally safe for your little one!

I know she won’t be little long, so I’m going to soak up every minute!

Happy Sunday!

Photos by BreAna Thomas…and a couple from my husbands phone haha

DSC_0491 DSC_0487 DSC_0493 DSC_0527 IMG_2375 IMG_2347

The Golden Polka Dot: Headwraps and More

Last month I went to a cute market where I met Martha from The Golden Polka Dot.  She was so darling and had tons of cute headbands, moccasins, bow ties, bibs, etc for babies! She told me she and her husband are saving for fertility treatments.  I love being able to help support such a great girl and worthy cause! She is running lots of fun promotions and gave me a coupon code to extend to you.

Click here and use the code “youaregreat” for 20% off your order!

Check out her cute site and pick up some fun things!

_MG_9003 IMG_5461

Viv’s headband ℅ The Golden Polka Dot

Holding on to Summer in Mommy Daughter Dresses

Welcome to part two of our mommy and me collaboration with my girl Sandy! She is so much fun, I love that we were able to get together.  In case you missed it on the first post, we both have baby girls named Vivian, and they are only about a month apart.  They were so cute playing on the grass together!  I loved seeing their sweet little personalities come out.  If you haven’t checked out Sandy’s blog yet, you are missing out! She is inspiring in so many ways, find her here. We wanted to do a dressier look with our girls, that still felt like summer.  I love when an outfit is comfortable, cute, and functional for mommyhood!

Photos by LC Photography

DSC_9240 (1)


We teamed up with Lucky Lamb and Co. for our Vivians’ headwraps, and I’m in love!  I seriously want everything in the shop! I’m so excited to be able to offer you a coupon code for free shipping on your order from Lucky Lamb and Co.  Go check them out, fall in love, and use the code VIVIAN2 to get your free shipping!

DSC_9186DSC_9276 (1)DSC_9309 (1)
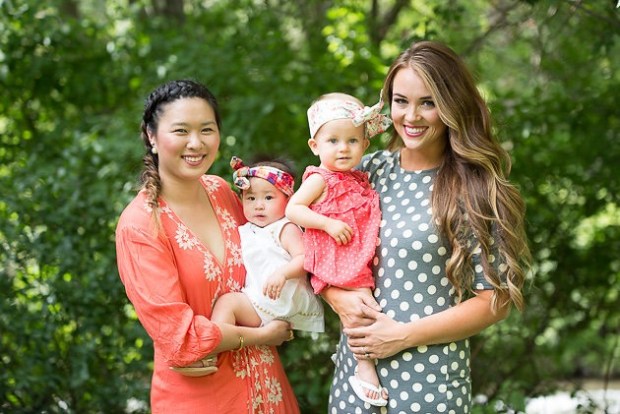
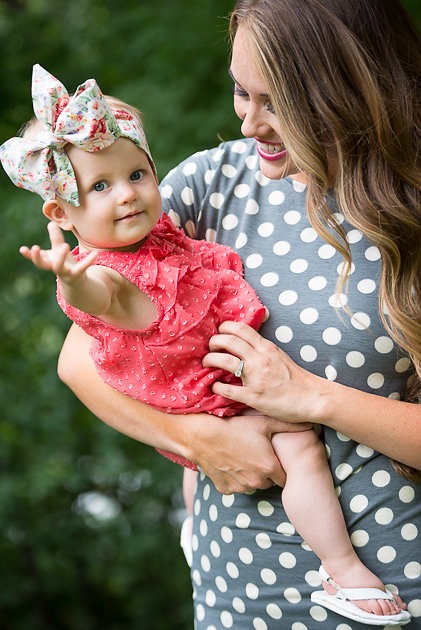
Ha Viv is always waving her hands around!DSC_9323 (1)

I also want to introduce you to my sister in law’s company TweetleDee Shoes.  She makes leather baby and toddler flip flops! They are so adorable and I love the softer sole for those early walkers! She can even do custom orders, check her out!


Jump Creek and a Half Up Fishtail Halo

A few weeks ago our good friends took us to this neat spot, Jump Creek.  It has a beautiful waterfall nestled into some equally beautiful trees. It was a fun little hike, and Viv loved playing in the water!

I love these outdoor adventures with my little family!

I filmed a tutorial for this half up fishtail halo hairstyle I’m wearing.  To watch it, click here!

Photos by BreAna Thomas Photography

Have a wonderful weekend!

-Savanah

DSC_0682 DSC_0591 DSC_0689 DSC_0724 DSC_0600

Mommy and Me: Babies and Bloomers

DSC_9696

A few months ago I met this awesome girl, Sandy, when we were both modeling for Happy Baby Wrap.  She was so sweet and of course, darling! We both happened to have baby girls named Vivian and they are only about a month apart!  She is an amazing blogger, check her out here!  She totally inspires me.  I don’t know how she balances so many talents and motherhood with such style and grace!  She is wonderful.  We decided to team up with our cute babes and bring you a joint mommy and me post!  I died when I saw these bloomers we got from Tiny Tot Threads.  They are so fun.  They also have lots of adorable dresses I have been eyeing!

Photos by LC Photography. She was wonderful to work with!

DSC_9612

DSC_9652

Both Vivians were pretty happy and interactive until we added these Loulou Lollipop teething necklaces.  Then my Viv was obsessed, and I couldn’t get her to focus on anything else haha.  At one point she was actually double fisting, stuffing them into her mouth.  Ha it was intense.  To say she loved them would be an understatement!

DSC_9496

DSC_9543

DSC_9699

DSC_9465

I love when Sandy and I have conversations about our girls because we each say, “my Viv” whenever we refer to them.  Makes me laugh!

DSC_9581

These bows from Little Cans are so neat because they come with three colors of clip on bows and two sizes for the headband. I love how customizable they are!

DSC_9548

DSC_9610

DSC_9567

My top is from The Rambler Boutique, Jeans from Gap

Vivian’s bloomers from Tiny Tot Threads, Moccs from Sophie Kate Moccasins, Headband from Little Cans, Top from Gap

Loose Waves

Loose waves are my go-to hairstyle because they make a great base for other styles, and they are so easy to wear.  Even in bad weather or if it is windy outside! Just looks like you meant for them to be all crazy.  With the right techniques, also, my curls will last for days!  I am still on the hunt for a thermal curling spray that isn’t crunchy or sticky, yet actually holds curls, but I have yet to find one I like.  I’ll keep you posted if I do! For now, I use Smooth and Seal by Sexy Hair to prep my hair before curling.  That product has my heart.  I’m obsessed.  Next, I start from the bottom of my hair and section off about a third of it.  Clip the top hair out of the way so you have clean sections. Once you have curled the bottom section, let down another one and clip the rest out of the way.  The cleaner you can make your sections, the better.  Then you won’t miss any hair and have straight pieces all over.  More than any product or technique I have used, curling my hair with a flat iron is hands down my favorite method.  It gives me control over how curly or loose I want it, as well as holding my curl longest.  Just a warning, if you haven’t curled with a flat iron before, it’s going to take practice! Keep trying, you will get better and faster.  I can now curl my hair in 1/3 of the time it used to take me with a curling iron. I’m working on a video for flat iron curls so you can see how I do mine. I’m still learning about video editing and all that jazz, so it takes me a while to make one, but I’ll get it up as soon as I can.  In the meantime, play around with it, and check out these products if you want! Once I have my hair curled how I want, I hairspray and use Flip it Over spray wax to create separation.  Don’t use very much! It will ruin everything.  Just a little here and there at the very end.  Good luck!

Also, I love the details on this top from The Rambler Boutique, check them out!

IMG_3266

IMG_3288IMG_3335IMG_3328IMG_3339IMG_3256IMG_3302

IMG_3275

Day 5 Eliminate and Enhance: Contouring

Our last day! You made it to day 5.  How has it been going so far? I hope you have learned a new tip that has helped you embrace your natural beauty more!

For our last day, I want to walk you through how to enhance your facial features.  Pair this with the eyes from day 3 and you are ready for any occasion!

1. Start by using a foundation/concealer/powder, or any combination of the three.  Level out any redness, dark circles, or blemishes.

2. Use a light powder, highlight, or light eyeshadow and gently sweep over your upper cheekbones and the top of your nose from the bridge to the tip.

IMG_4760 IMG_4761

3. Working in a line from your upper ear to the corner of your mouth, make small circles with a bronzing powder.  I like to use a powder with a matte finish.  Stop on your lower cheek.

IMG_4766 IMG_4768 IMG_4769

4. Use the bronzing powder to lightly shadow the sides of your nose and the top of your forehead.  Blend everything together with a large powder brush and translucent powder.

IMG_4772 IMG_4773 IMG_4777

5. Apply blush from the center of your cheek up toward your ear.

6. Add a fun lip and you are set!

IMG_4784 IMG_4796

Thank you for following along with this series! Enjoy your weekend!

Day 4 Eliminate and Enhance: Pull Through Braid

Day 4! Today I’m going to show you a simple pull through braid that is great for any occasion.  I love it for working out because it stays tight, unlike other braids.  Let me know if you have any questions!

1. Make two ponytails.

IMG_4656

2. Split the first ponytail in half.

IMG_4657

3. Pull the second pony through the split and clip it out of the way.

IMG_4658 IMG_4660

4. Make a third ponytail and include the hair from the first ponytail.

IMG_4663

5. Unclip the second pony.  It now becomes the first.  Split it in half, and repeat the steps again as many times as you want.

IMG_4667 IMG_4668 IMG_4669 IMG_4672 IMG_4674 IMG_4676 IMG_4677 IMG_4679 IMG_4681 IMG_4685

6. Once you have braided as far as you like, begin to loosen the sections.

IMG_4692 IMG_4696

IMG_4703

Pull and adjust until you see fit!

The end. Have a wonderful day!